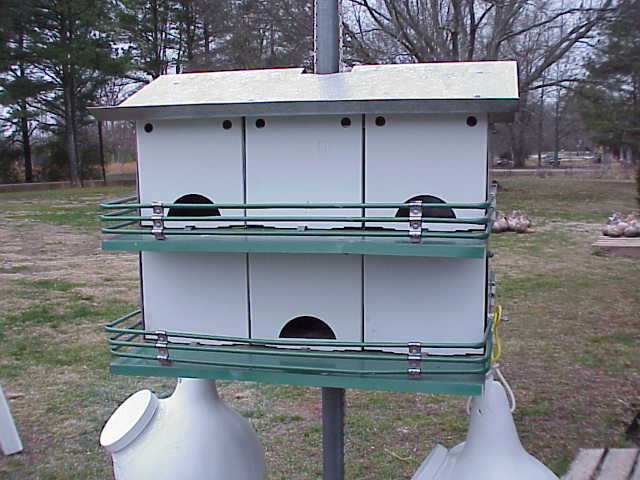
Rework of a Trio Martin House
to Make Larger Compartments

Many folks have the Aluminum Trio houses and often wonder why the martins don’t use them. One reason could very well be the small 6" x 6" compartments. Personally, I feel they are just too small for an 8" long bird to build a nest and then raise baby birds in them. Another reason could be because the birds may not feel safe in them because they aren't able to back out of the way of any danger that might show up. Any owl or ‘coon that comes along can easily reach inside the compartments and pull the inhabitants out for food.
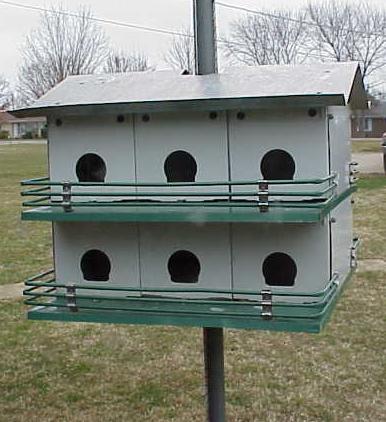
However, one thing that can be done to prevent this, while at the same time, getting martins more interested in using them is to increase the size of the compartments. Yes, this does cut down on the total number of compartments by half, but if the martins weren’t using them in the first place, then…
On this page, we'll see if we can show how to rework one of these aluminum houses from 12 small 6 x 6 inch compartments to 6 large 6 x 12 inch compartments.
And while we're at it, I personally suggest that if starlings are a problem in your area that new doors with some form of SREH entrances be purchased to replace the round holes that come in the standard house.
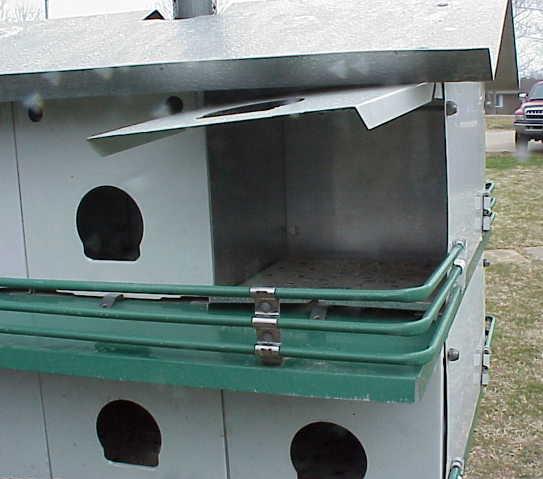 First, let’s look at the house. The doors are hung with a small rod holding them in place. That rod
mounts the doors while at the same time allowing the doors to pivot open and it has to be removed so that the doors can all be
taken off. You’ll want full access to the insides of the house.
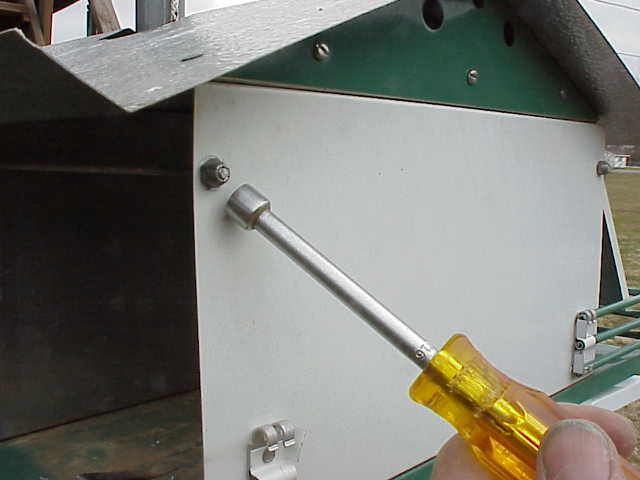 Removing the doors is easily done by simply removing the nut on the rod at the end of the house....
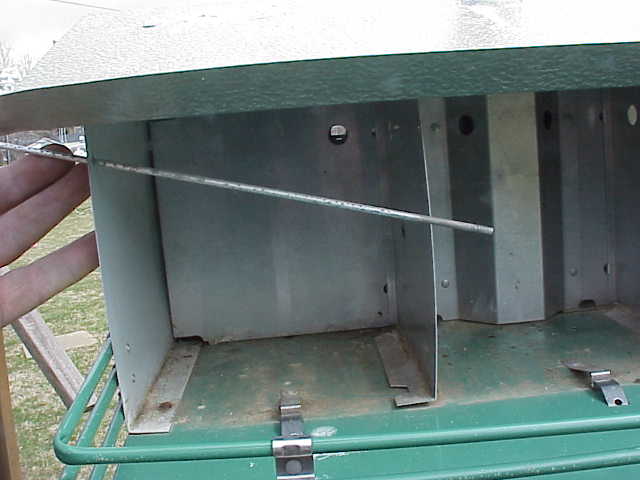 ...and by
simply sliding the rod out to the left, all the doors can easily be removed.
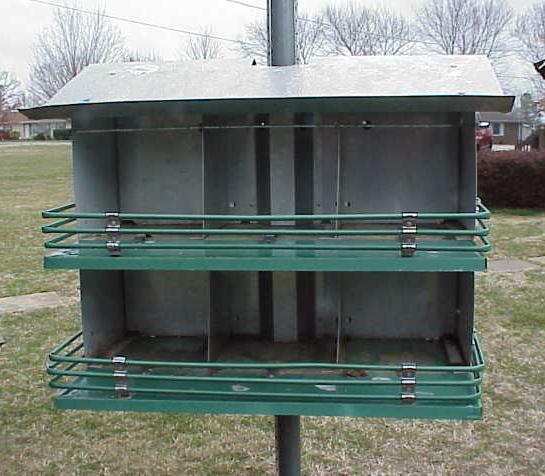 Now that the doors are off, we can see the insides of the house and it’s much easier to work
on the house this way.
The whole idea is to make 6" x 12" compartments, and that’s easily done if we simply drill a hole in the back wall. However, if you notice, the center compartments have the pole clearance section, thus we wouldn’t be able to drill a hole thru the back wall because we would crash into the pipe. However, there is a fix for this and we’ll get to that just a little bit later.
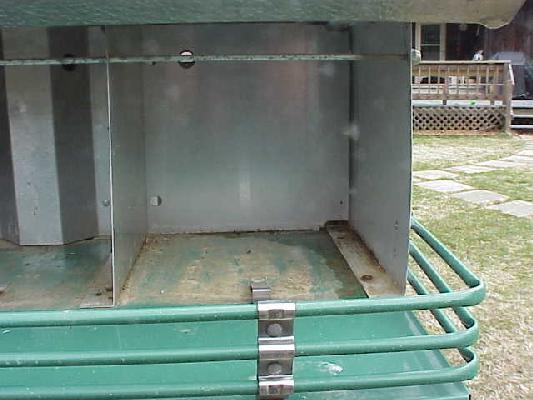 Notice
that the right (and left) sections of the house have nothing on the back wall, so we can easily drill our 2" hole
into the backs of any of these compartments. Take your pick as to which
side you want the deep compartments to be on. As you'll notice, I'm choosing
the right side of the house for my holes.
The easiest way to do this is to use a 2" diameter hole saw. Yes, one made for wood will do the trick. Aluminum is much softer than steel and thus, the saw will easily cut the hole thru the aluminum wall.
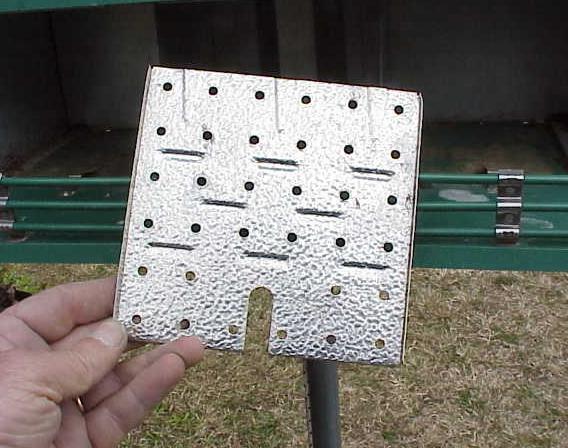 One
note here: Some houses will have a secondary floor in them. Remove
these before doing any reworking.
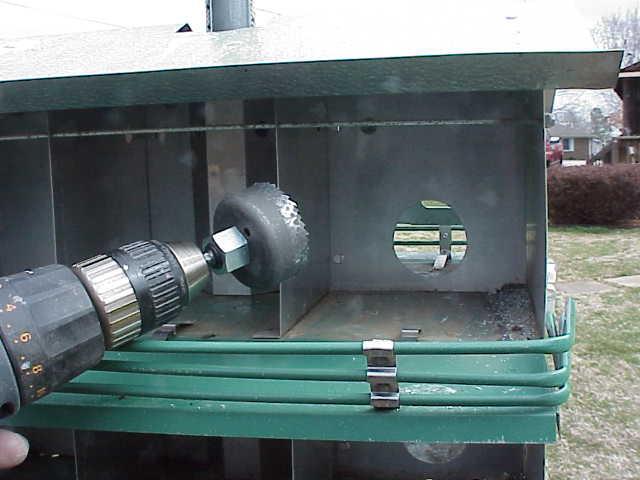 Using a drill with a 2" hole saw
mounted in it, simply drill a hole in the back wall of the house
in both the upper and lower compartments.. Remember, place the hole so that
there’s about 1 good inch between the ‘bottom’ of the hole and the floor of the
house. This prevents nesting materials from being dragged from compartment to
compartment.
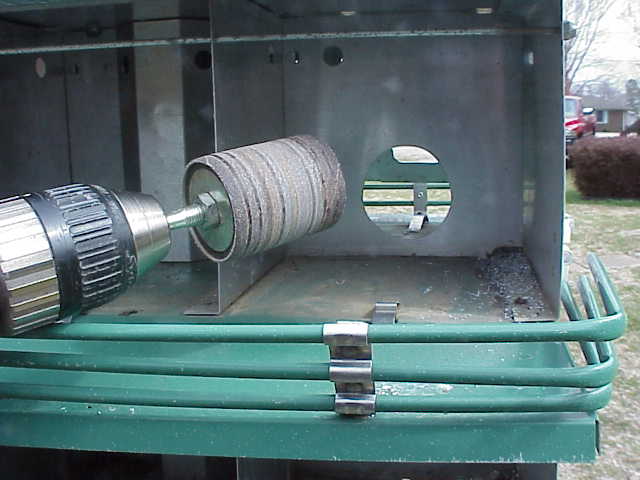 Now,
this drilling is going to leave sharp edges and we don’t want that, so if you
have a drum sander that fits your drill, you can use it to get rid of most of the worst sharp edges
and then...
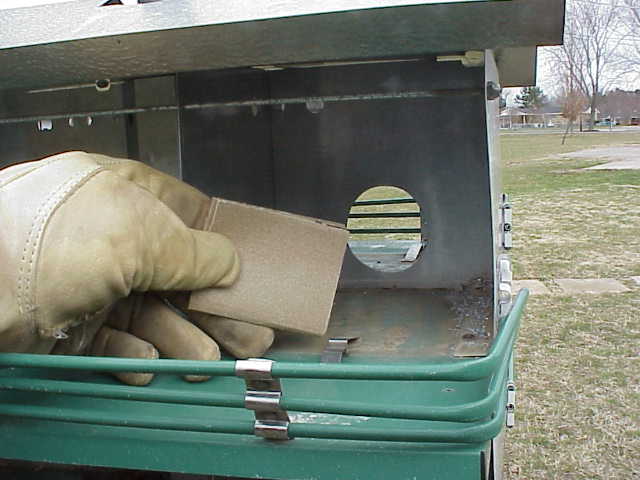 ...using leather gloves, take some fine sandpaper and
run it around the edges of the hole so that there aren’t any sharp edges at all. The last thing we want is for the birds to get feather damage going in and out of this hole.
If you don't have a drum sander, then you'll have to use sandpaper from the
start to remove all the sharp edges and burrs.
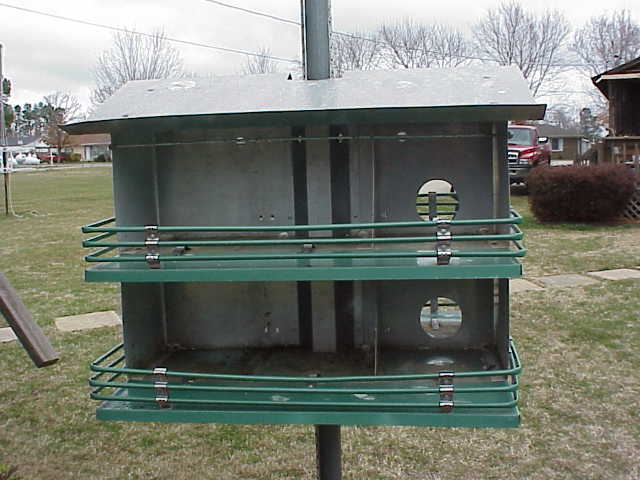 Now we get to the middle section. Since we can’t go back with a hole to make the compartment larger, we’ll have to go
sideways.
 Going sideways is easily done by removing the rivets, or screws in some cases, and then simply removing the panel that separates the two
left side compartments. Again, panels on both top and bottom floors have to be removed.
Two things can be done here...your choice...
One, you can simply leave the panels out completely. No, the wall really isn't needed.
Or, if you want the panels left in, then you will have to drill the holes in these panels while they are out of the house and then replace them in the house. In either case, this now gives the martins a compartment that is 6" x 12" but instead of going from front to back, they’re going from side to side.
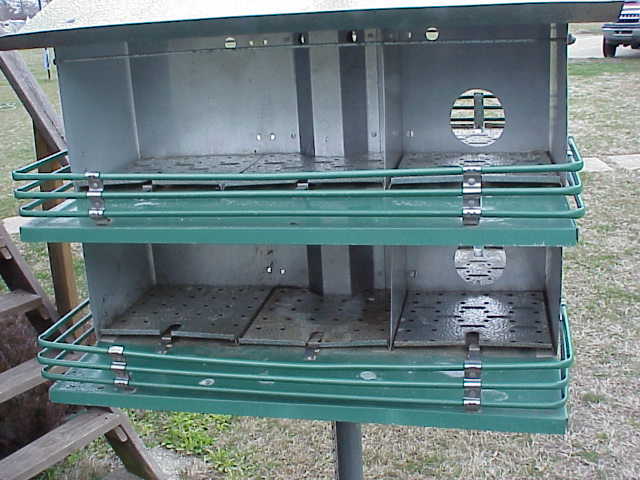 If you
decide to leave the walls out (like I did), then what you have is a house that looks like the one to the right. At this point, the major rework is all done and what’s left to do is replace the doors.
(I put the floor panels back in place to show why the hole should be 1" up from
the floor). The bottom of the holes are well above these secondary floors.
Reassembly of the house is done by simply reversing the method you used to take them off. The rod will slide thru each of the doors and then replace the nuts on the ends of the rod.
HOWEVER, one note here…
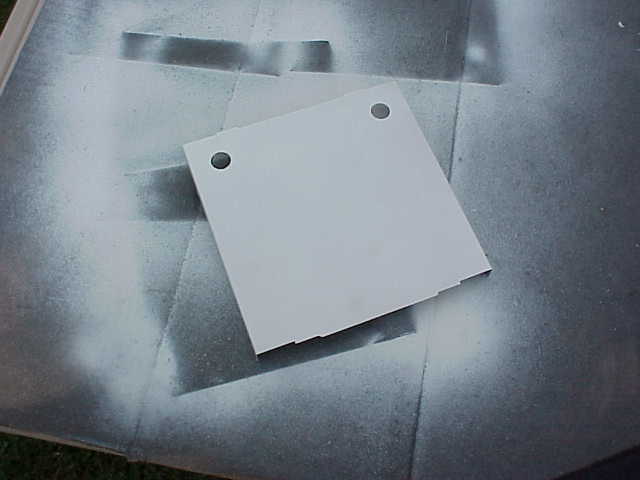 If you are planning on using any kind of SREH's in your house, you’ll have to order those ‘before’ the house can be put back together.
Since you now have only 6 compartments, you'll need 6 of them.
Likewise, you’ll also need some blanks as I have shown here. You'll need 6 of those, also. I got mine from Trio.
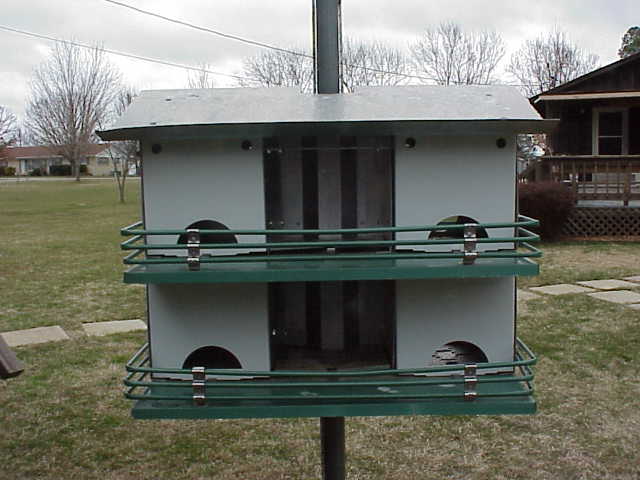 OK, now we have some deep compartments. What we have to do is decide which way we want the birds to go and block off all the other holes to the compartments so that there is only one entrance to each compartment.
There are a number of different combinations and it's up to you to choose which
way you want them to go.
As you can see to the right, one option is to put entrances in all 4 corners on the front side.
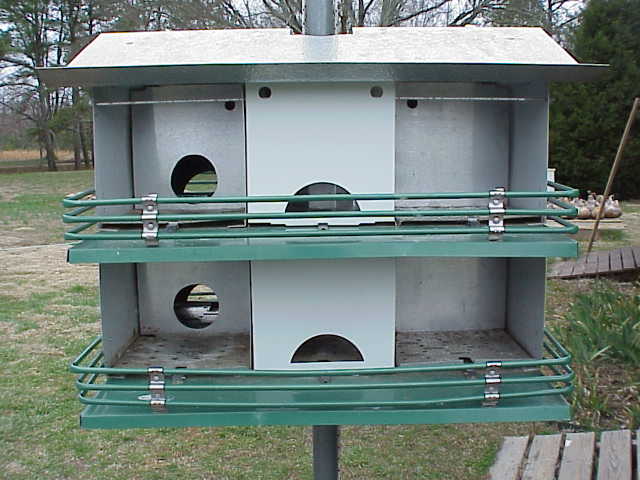 Then,
on the back side, you would only get to put 2 entrances, since the rest would
all have to be closed off. Play around with them to see what best fits
your eyes. The time to do this is now before you put all the doors back on
and tighten the rods in place.
 As you
can see to the right, I settled with the top right open on this side and blanked off the back
of that compartment. On the backside of the house, the lower compartment has the SREH and the bottom
front is blanked off as shown.
Assuming this is the 'front' of the house, I chose the upper left and the lower center panels for the SREH. These are the ones that go from side to side on this face of the house. This simply splits up the aesthetic view of the house for my eyes. The opposite side of the house is exactly the opposite. Separating them this way will also help with male porch domination, something that is sometimes a problem with houses that don't have porch dividers.
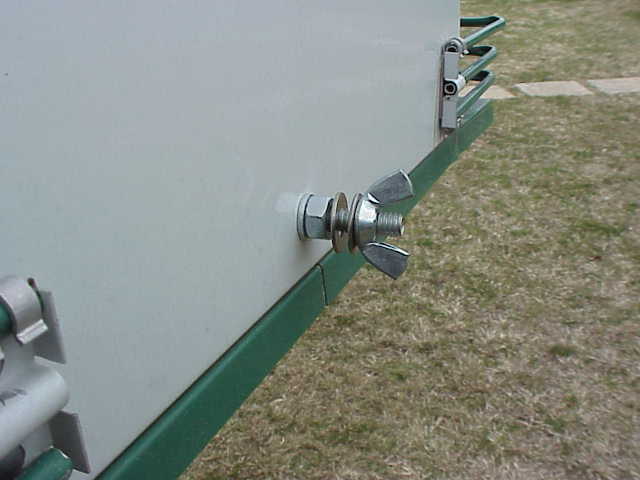 Also,
as you can see, I added a couple of gourds to the ends of my house. This is
easily done by adding some bolts to the bottom of the house. These are1 inch
long 1/4-20
with wing nuts on the outside.
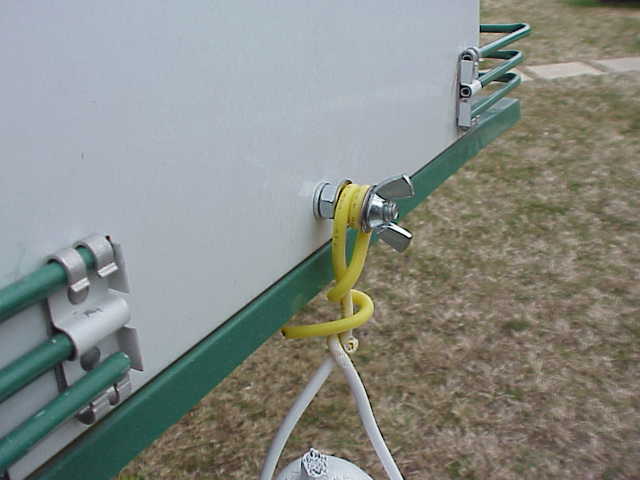 This
picture shows how I wound my wire over the bolt.
I can’t help it…I’m still a gourd man and will try to find places for them in all my housing.
And that's all there is to it. Reworking this house really isn’t that hard to do and when you get done, you have a house that now, not only has deeper compartments and is a much safer house, but you also have a house with starling ‘resistant’ entrance holes and that will help keep at least one of the martins enemies at bay. You may not have as many compartments in it now, but the number of babies will be larger per nest, so you still work out with the same number of young in the long run.
Now, the question is, what to do about the sparrows that will also find these deep compartments very attractive?